


CoolWP: Remote Desktop Login
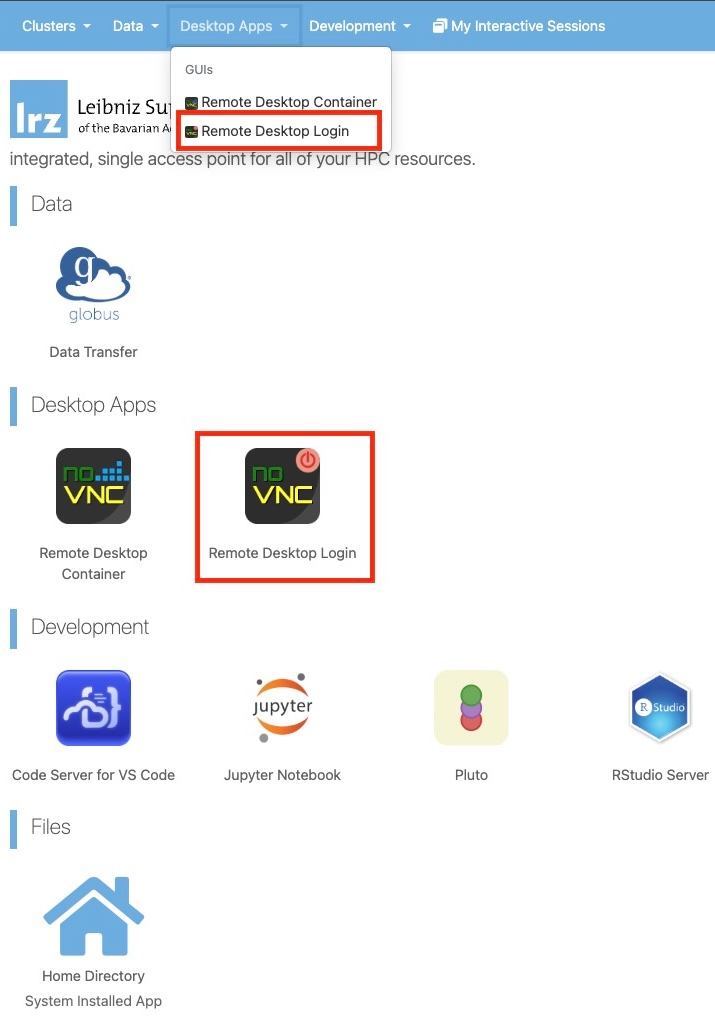
Remote Desktop Login can be accessed by selecting it from the drop-down list under the Desktop Apps section in the upper menu bar, or by clicking the Remote Desktop Login icon on the dashboard.
|
|---|
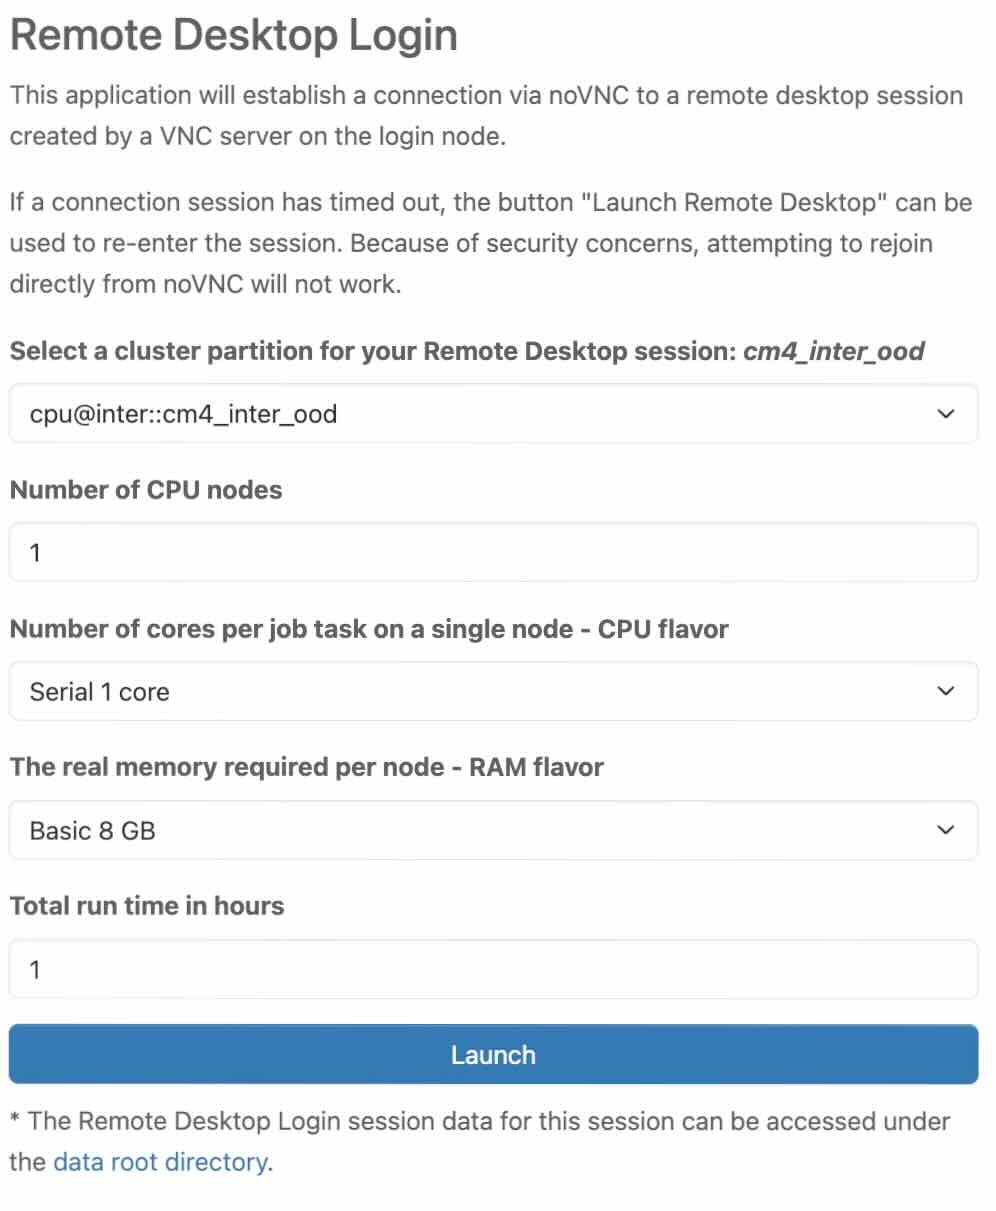
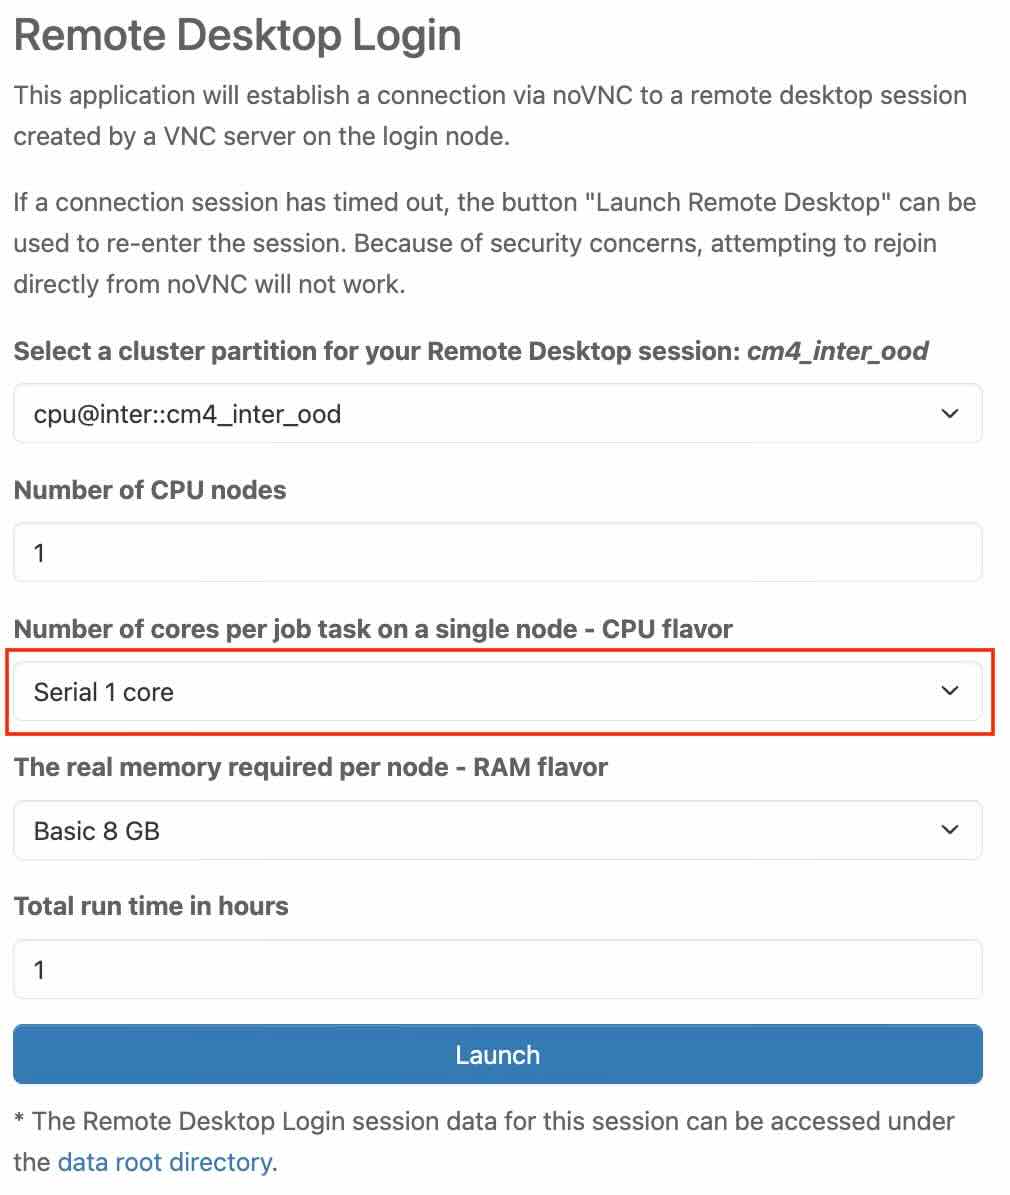
After clicking Remote Desktop Login from the panel, you will find yourself on an overview page providing important information about the resources you want to use. Before you can launch Remote Desktop Login, you must provide some information about the resources you want to use.
|
|---|
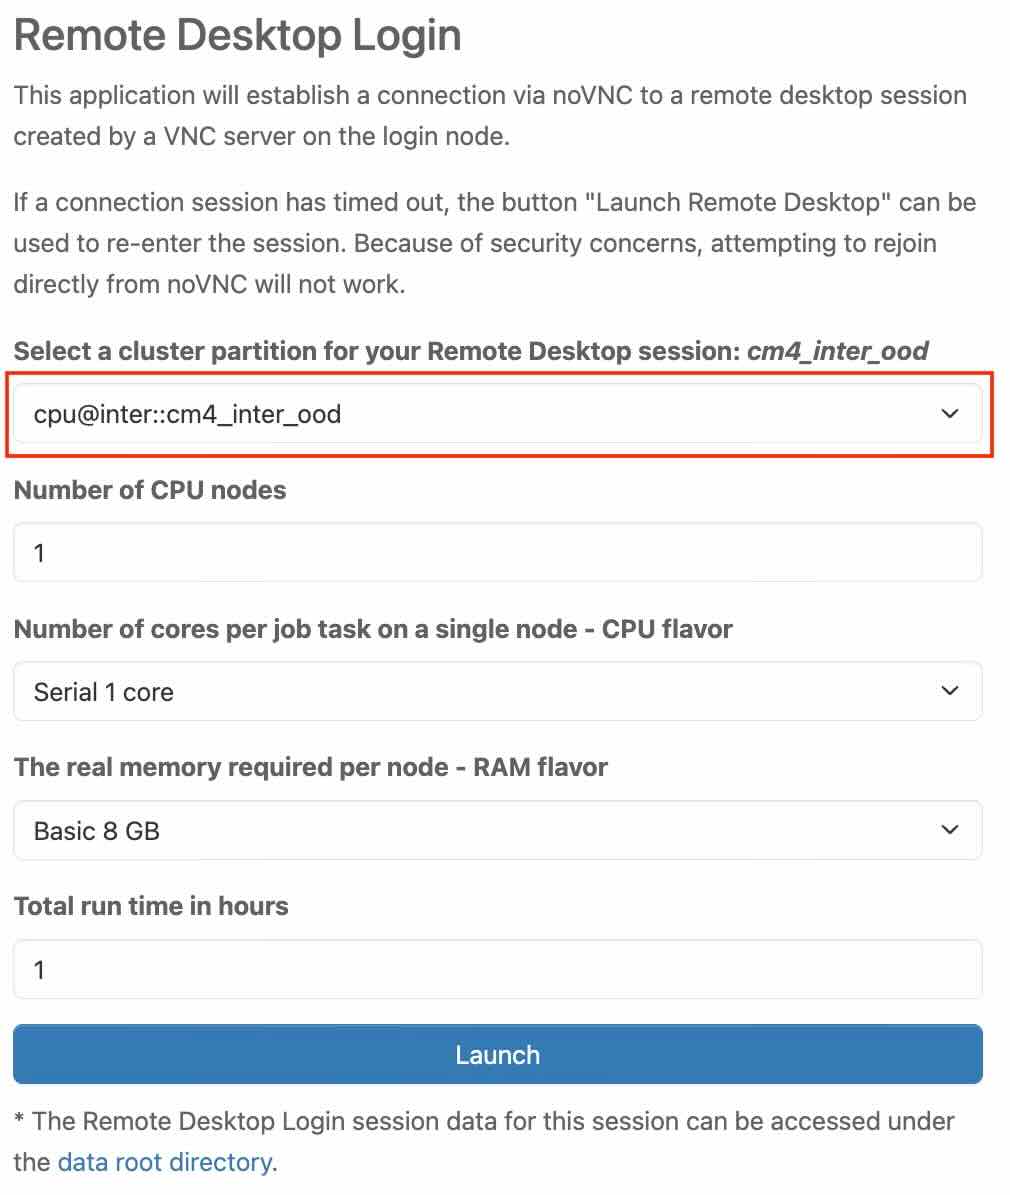
Select a cluster partition for your Remote Desktop session
In this section, you choose a cluster partition from a list of predefined resource profiles. Select a cluster partition based on your requirements. Further information can be found under Job Processing in the Linux-Cluster documentation.
|
|---|
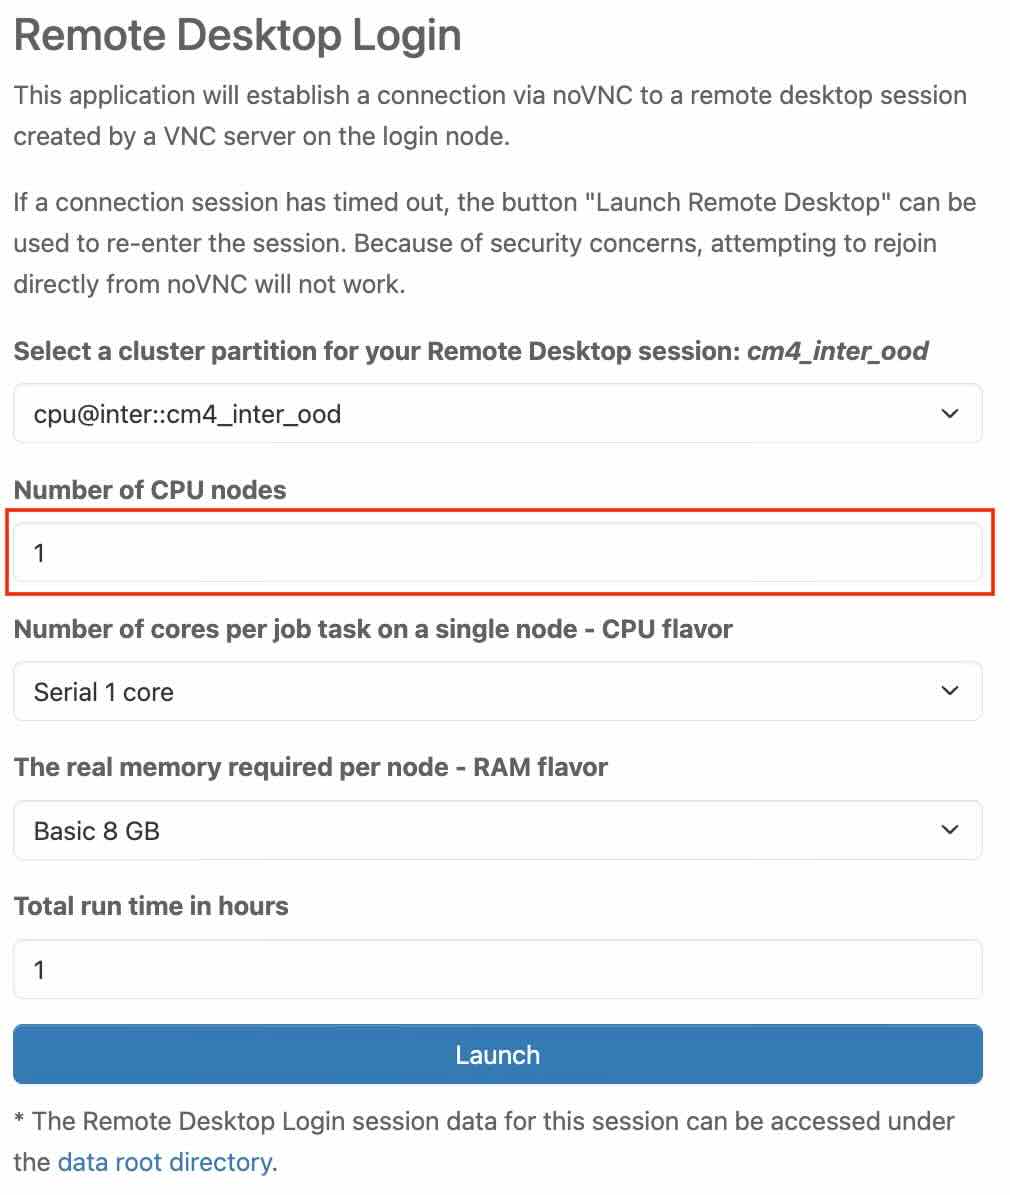
Number of CPU nodes
This section allows you to enter the desired number of CPU nodes. This refers to the number of nodes allocated for a job in the cluster. You can check the availability of nodes and find further information on Job Processing on the Linux-Cluster documentation.
|
|---|
Number of cores per job task on a single node - CPU flavor
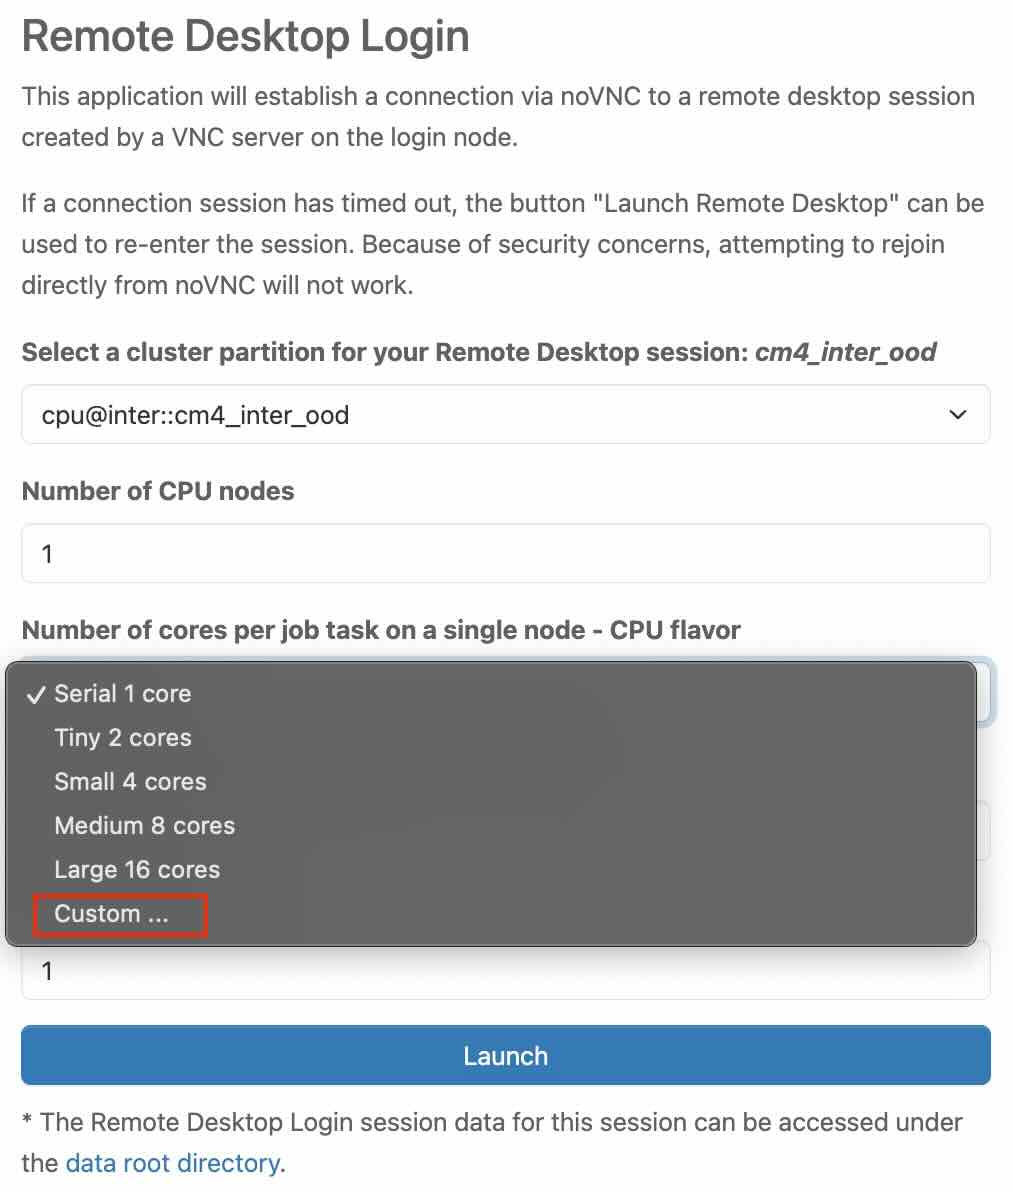
In this section, you need to choose from a list of predefined resource profiles. Each profile defines the number of cores per job task. It tells you how many CPU cores each task of your job will use on one node in the cluster, and what type of CPU (flavor) you want to use. If you need a different number of cores per job task, you have the option to do that as well with "Custom".
|
|---|
In the tab, scroll to the bottom and select “Custom”.
|
|---|
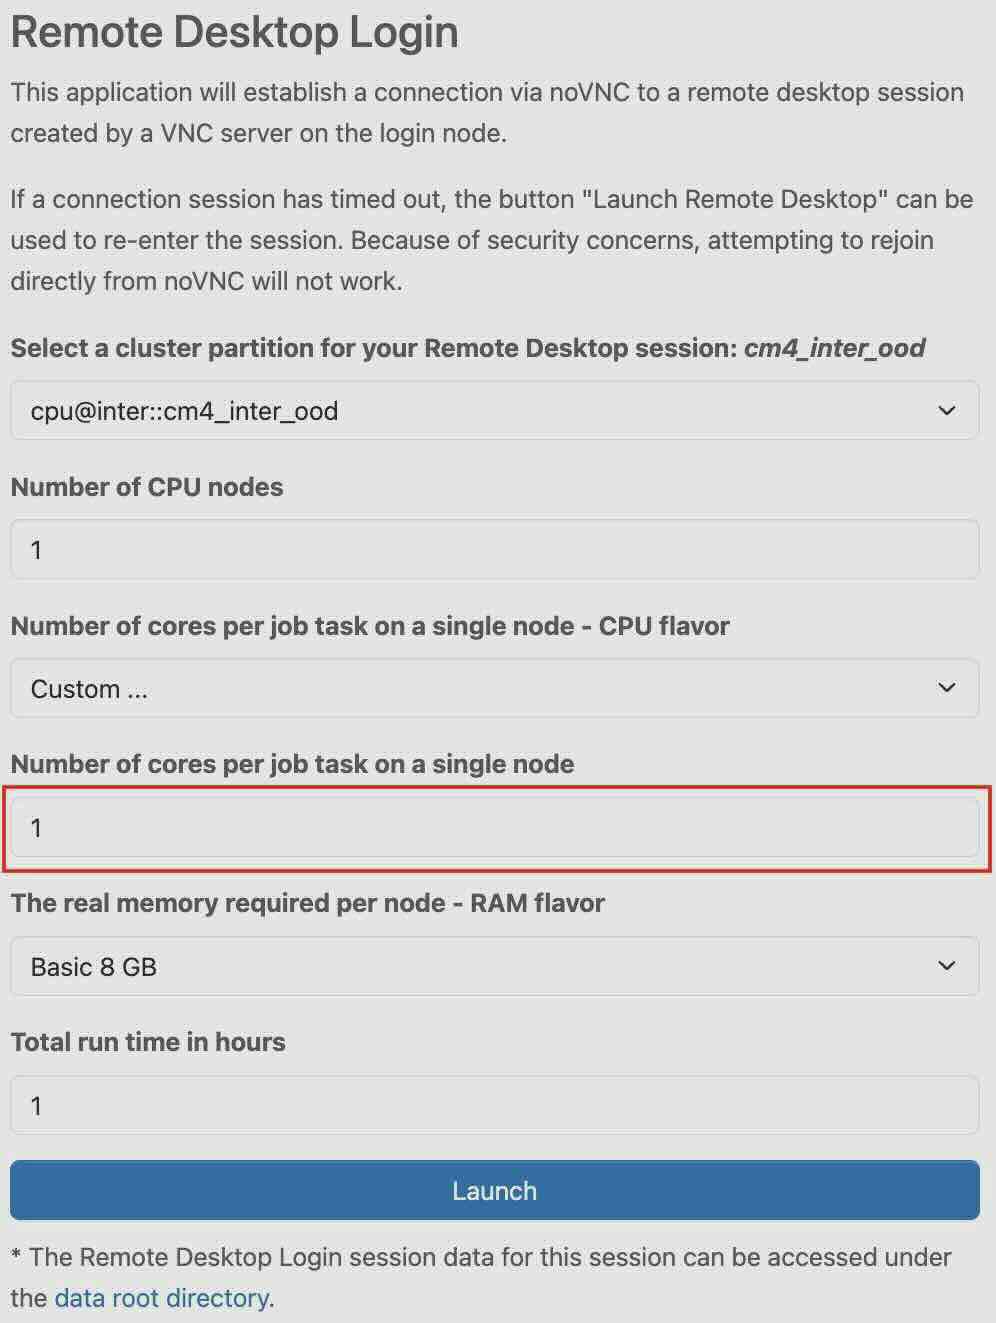
"Number of cores per job task on a single node" tab should appear right below, allowing you to enter the desired value. Further information can be found under Job Processing on the Linux-Cluster documentation
|
|---|
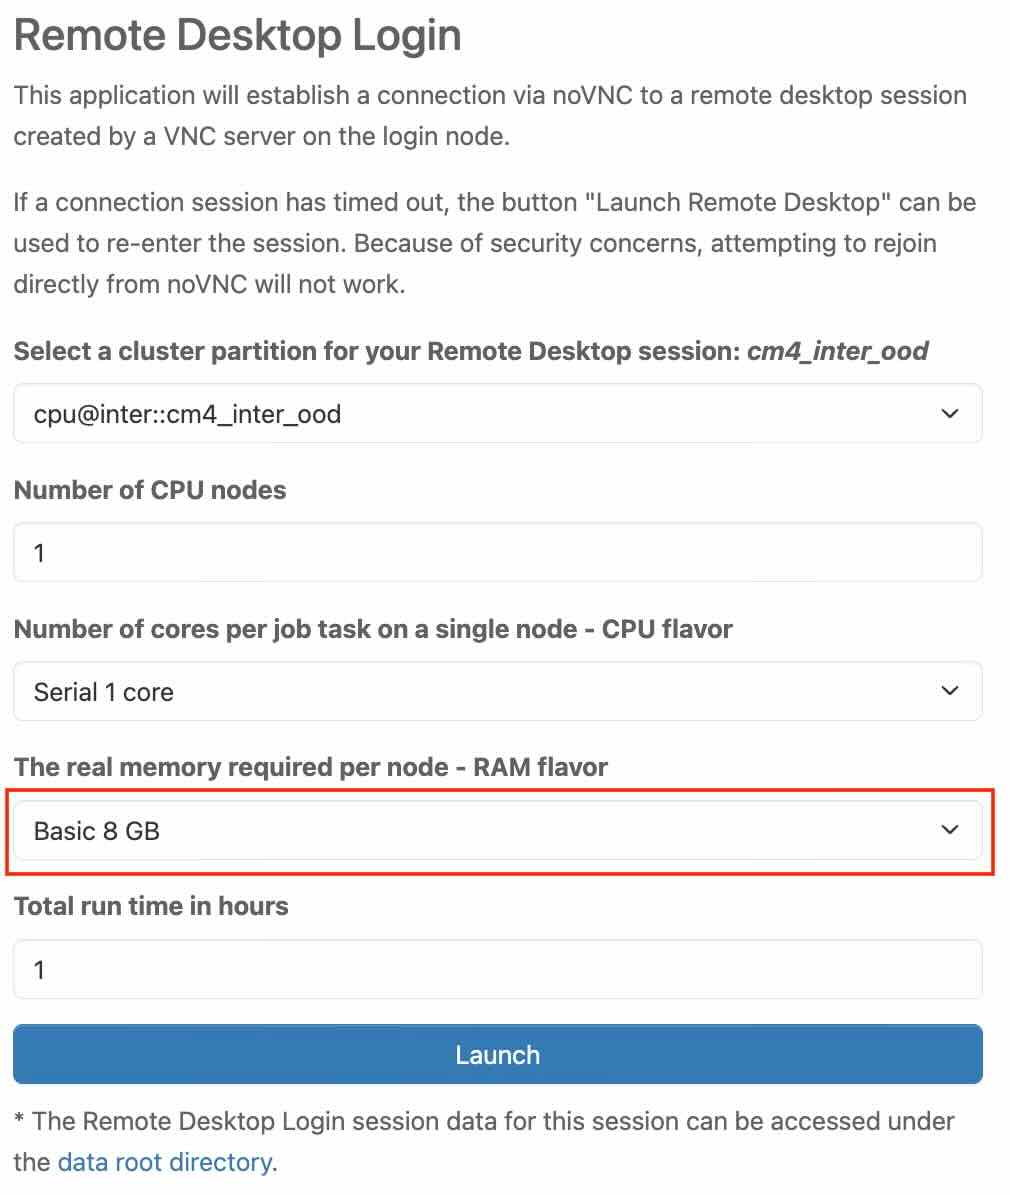
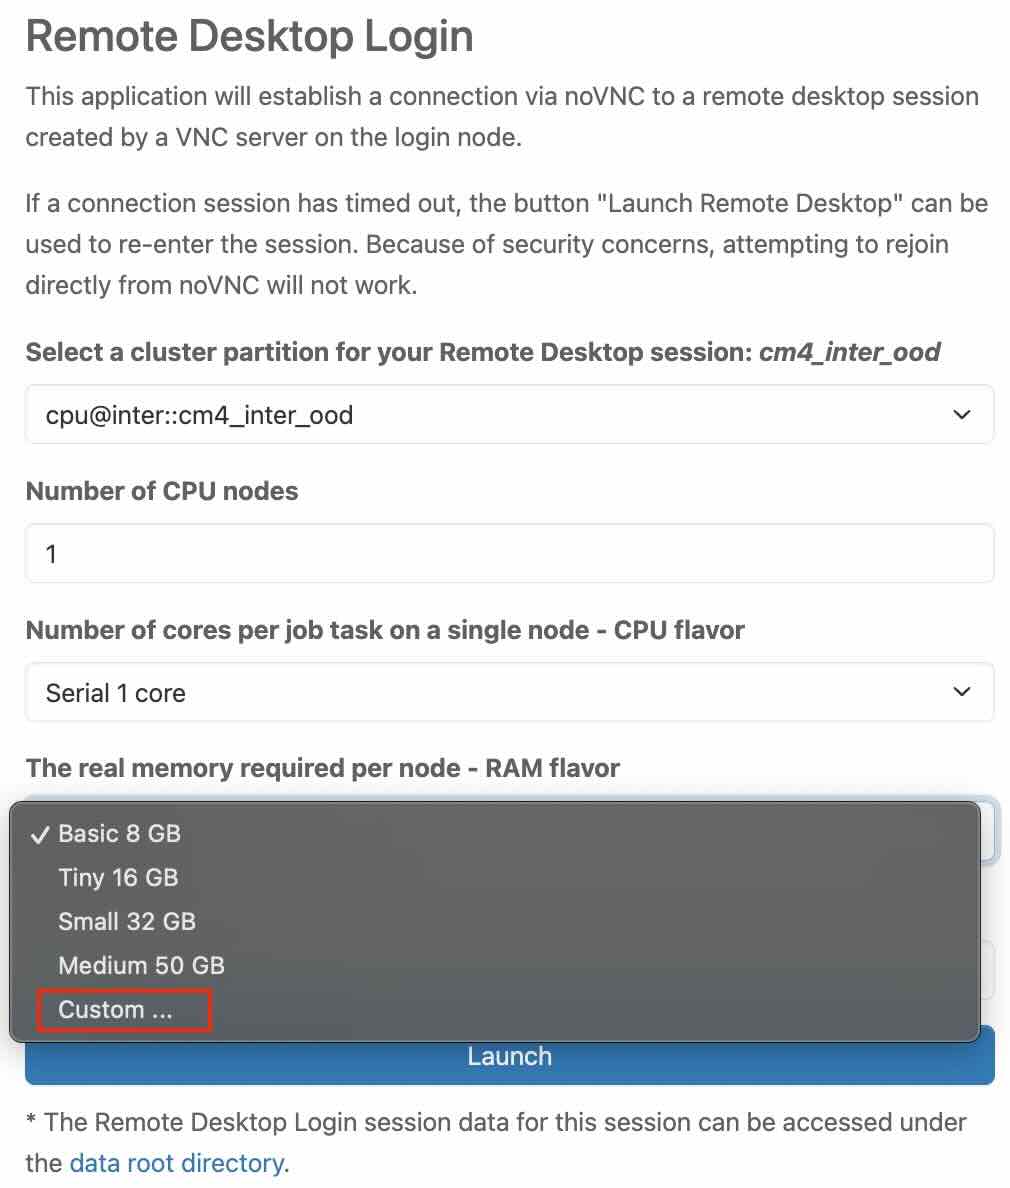
The real memory required per node - RAM flavor
In this section, you choose from a list of predefined resource profiles. Each profile defines the memory per node. It essentially defines how much memory the job needs to function properly on a specific node. If you need a different amount of memory per node, you have the option to do that as well with "Custom".
|
|---|
In the tab, scroll to the bottom and select “Custom”.
|
|---|
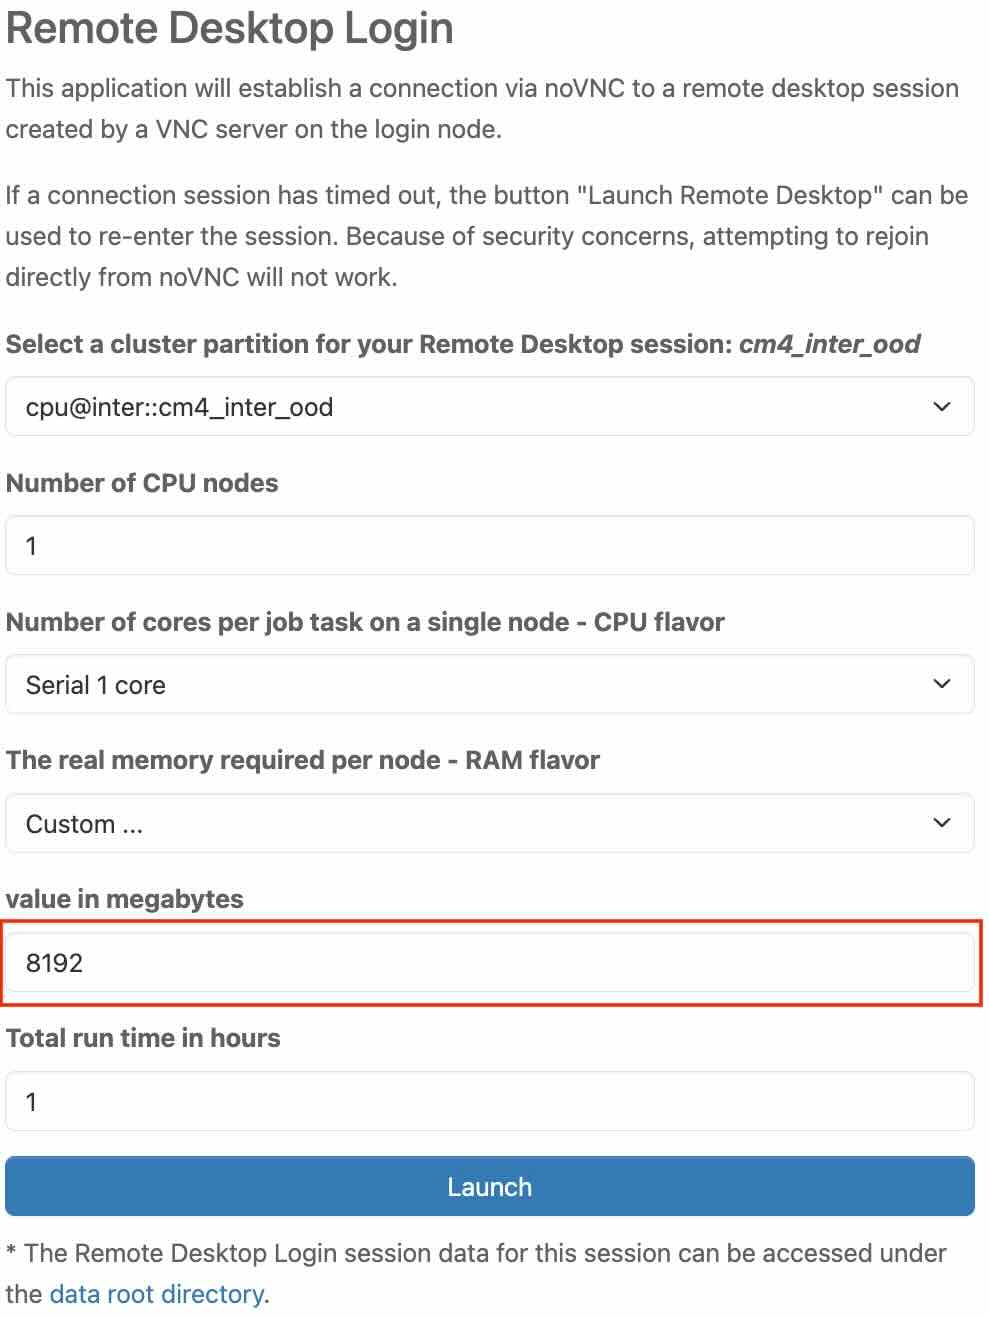
"value in megabytes" tab should appear right below, allowing you to enter the desired value. Further information can be found under Job Processing on the Linux-Cluster documentation.
|
|---|
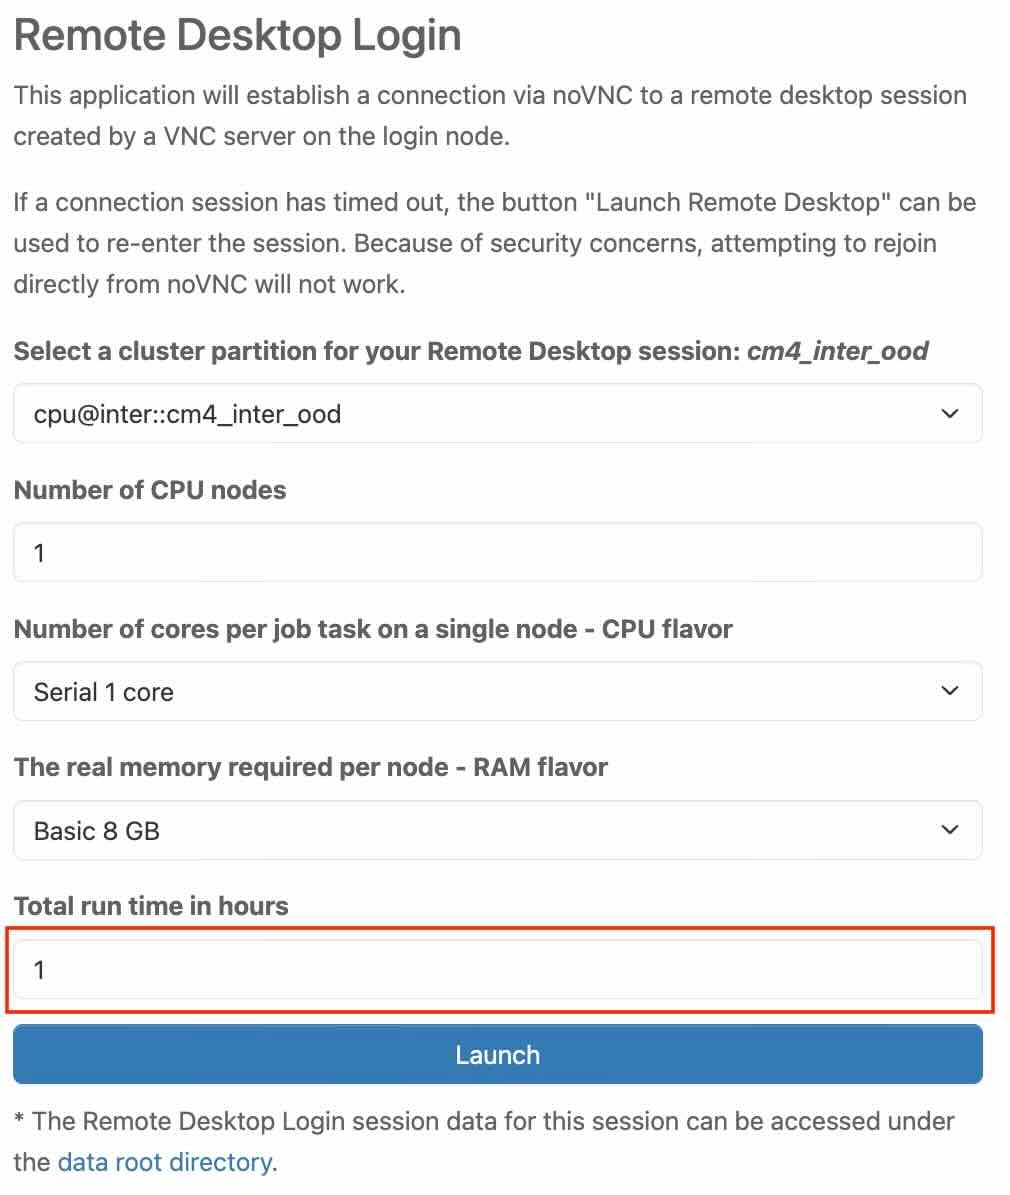
Total run time in hours
In this section, you choose the total runtime in terms of hours.
|
|---|
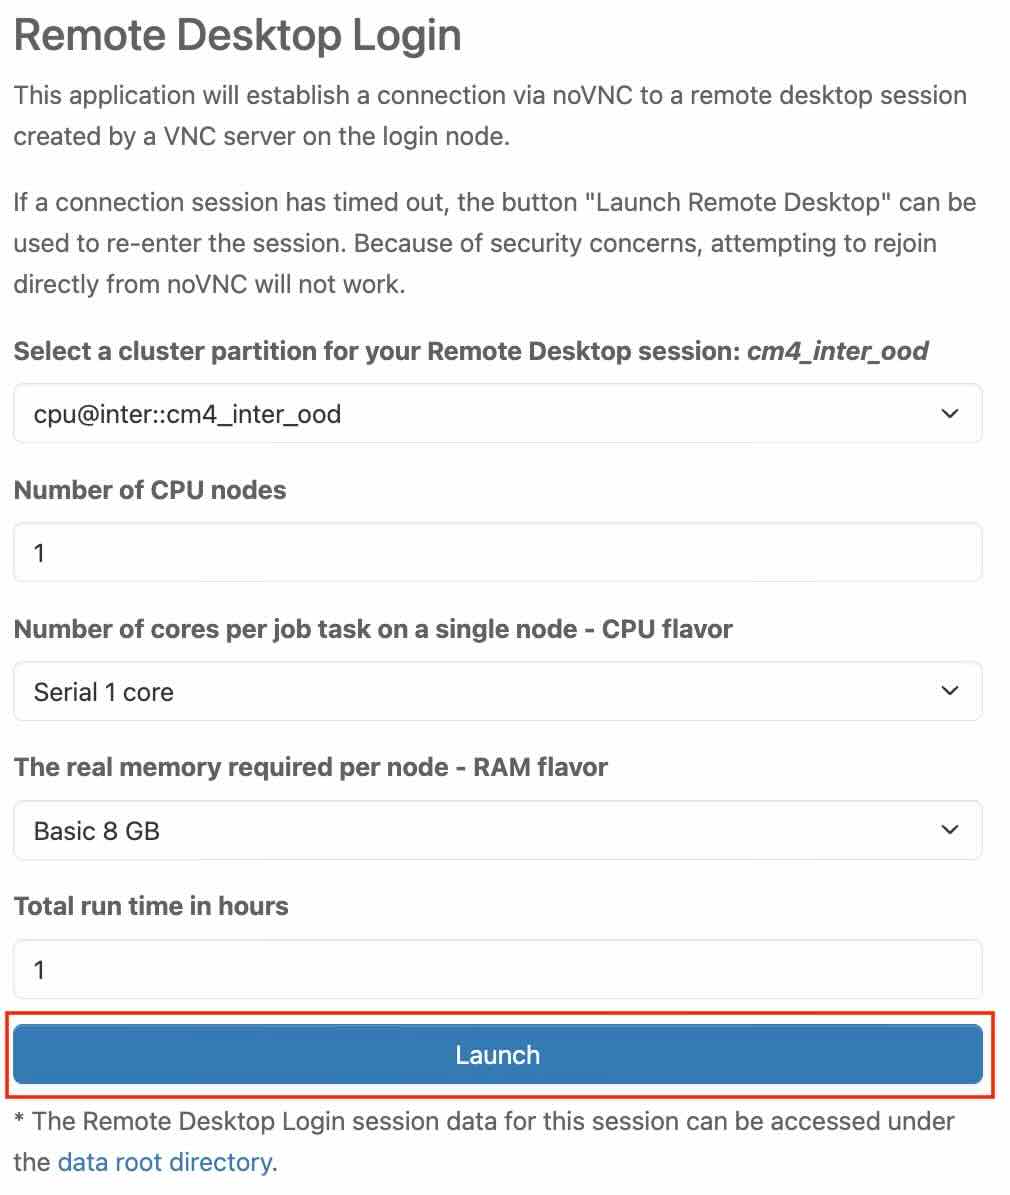
Launch
Finally, click the “Launch” button to start the application
|
|---|
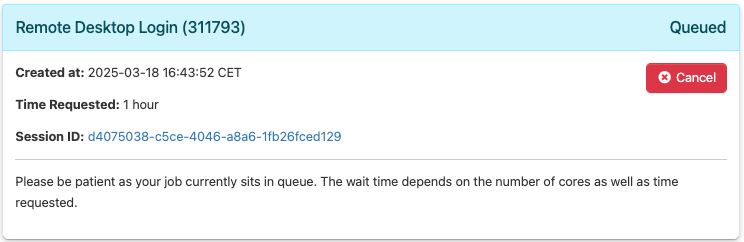
After clicking to “Launch” button, you will find yourself on a page. You need to wait as your job will be in the queue. The wait time depends on the number of cores as well as the time requested.
|
|---|
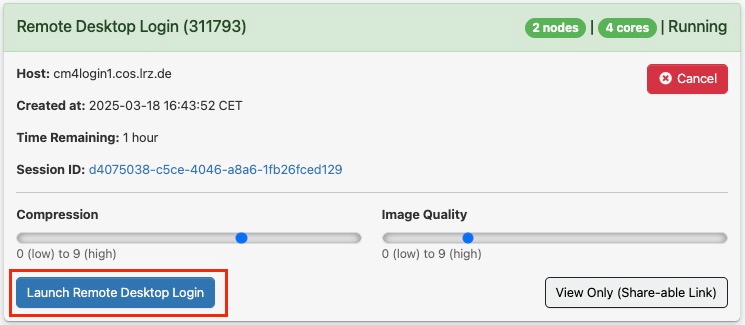
Once the resources are allocated, you can click on “Launch to Remote Desktop Login“ to log into Remote Desktop Login.
|
|---|
If the connection session expires, click the Launch to Remote Desktop Login button to restore access.